*DISCLAIMER* I wrote this post for a project I’m starting called ReallyReel, it’s an active digital space for documentarians & journalists to write about their experiences, tips, tricks, grips whatever it may be. The hope is to be a growing archive created by the people that use it. So head on over there to the substack or we’re experimenting with medium and let us know which you prefer!
I grew up using Macs. My mom is a graphic designer, which is how I learned computers. Now that Apple has released their own chips, the future of Macs has never been brighter But I won’t be a part of it. After 15 years in the Apple ecosystem, I’m leaving it. It’s bittersweet, but I’m not completely leaving as I’m keeping my MacBookPro for web surfing and similar tasks. But why make the switch now?
I came to the realization that it's always the time. In the battle of Mac versus PC, there is no way to measure “bang for buck.” How I am using my machine and my budget set the groundwork for what system makes the most sense for me. I’m not going to list out the differences and do a broad comparison because Really Reel is about non-fiction, documentary storytelling and if you’re reading this, I’m assuming that is the goal of your machine as well.
I’ve never built a PC before but I’m documenting the process here so you and others can learn from my hopefully many successes but definitely many mistakes, so you don’t have to.
My goal with this build is to be able to create my own short films from start to finish and also have the ability to take on long form work whether it be my own or work-for-hire.
Currently I have a 2017 Macbook Pro, and I have been really impressed with it. When I got the computer, my main camera was a Panasonic Lumix Gh4, which served me well. Now, color correcting footage off my Blackmagic Pocket Cinema Camera 4K is where my computer begins to suffer. I don’t mind closing all my other apps to edit since it helps keep me focused. But when I continually find myself reaching for my cell phone as I wait for my laptop to process a task, I realize I need a fix for the long term. I want to get hired to make documentaries, so I need a machine that can handle all of post-production. Not simply playback of 4K footage but editing and grading 4K.
I shoot in RAW, which means there will be a LUT or, as a DaVinci Resolve user, quite a few nodes to get color together. I can expect some clips to require stabilization and even more clips will need noise reduction. This is expected of every shoot I do at a minimum and a smooth editing experience needs to be the baseline of what I consider a “good enough” machine. Unless the footage is over 4K resolution, I also want to move away from a proxy workflow, which takes even more time to render footage in order edit smoothly. There are serious diminishing returns going over 4K as a freelance documentarian and since my camera maxes out at 4K resolution I can safely assume the vast majority of my work will be in 4K. A proxy workflow is an added layer of complexity and is another step in the process to mess up. If I’m going through the effort of building a PC, I might as well remove an entire step from my workflow. I am not as interested in improving render/export speeds, however. While useful, it’s less important to me than playback. Working within a budget, that’s how I’ll focus my purchase .
But what is my budget and why not just get the Apple equivalent? My budget is $1,855. Not an insignificant amount of money, but at the end of the day it’s probably a pretty average budget for a video professional to be able to put aside.
For the Apple equivalent to this build, I’d have to spend a ridiculous amount of money. As soon as I leave the MacBook Pro line, the prices pretty much skyrocket. An equivalent iMac isn’t really possible as they max out at 4GB of VRAM for graphics processing and 2TB of storage space with no expansion. To run DaVinci Resolve, I need at least 8GB of VRAM and would like at least 8TB of hard drive space to store media. The iMac Pro is a comparable machine (hard drive size notwithstanding) but starts at $5,000 - more than I’d end up spending on this computer and my camera. To match my spec list completely in a Mac Pro (and even beat it a little, their lowest core count is 8 compared to my plan for 6), it will cost $8,500.
And now, let’s address the M1-sized elephant in the room. Anyone in the know is probably screaming at their computers, “Kyle, are you really doing this RIGHT when Apple seriously changes the game in regard to computing power?” Yes, yes I am.
With Macs, you are paying extra for simplicity, from UI to physical design all the way to peripherals. They’re fantastic and the M1 is super impressive. But at this point in my career, I care less and less about a pretty UI and more about performance compared to cost. I’m willing to spend the time and energy to learn computers and how they work if it means I can get a much more powerful machine for the same price. I’m not an expert on this, nor am I an insider, but with RAM and GPU performance dependent on the M1 CPU, I don’t think the rest of the components inside Macs can keep up with themselves just yet. I think it’ll take time before you see the real power of the chip.
It also doesn’t solve my biggest gripe: upgrade-ability. So far it’s actually gone backward with the M1 computers. All of Apple’s M1 offerings, including its desktop Mac mini, are capped at 16gb of RAM soldered to the motherboard. All of the videos I’ve seen have not convinced me that 16GB of RAM on the Mac mini can handle graphical effects like LUTs plus stabilization on the same clip. If I’m not getting a Mac mini, the MacBook Pro is only a few hundred less than what is in my budget currently. But it falls short on hard drive space, and we don’t know yet what an M1 MBP looks like performance wise over time. Maybe if I wait it’ll be a good comparison but at best it’s just that: a good comparison.
There are other reasons I’m choosing to do this that are not editing-related but are worth nothing. It’s no secret that over the last decade or so, Macs have completely lost their modularity. I’m done entirely swapping out computers, especially if a certain component breaks a new computer is a few hundred more dollars than a repair or part replacement on what I currently have. This mindset of disposability in regard to electronics needs to stop. I want something I can upgrade over time as my needs change and my business grows. Now, only a few Macs allow for upgrading of any kind after purchase, and the new M1 Macs offer none whatsoever (so far).
I also really just want to build a computer for me. For a little while now,it’s been something I’ve wanted to learn more about.I enjoy electronics; I used to work for a photo/visual installation company before committing to documentary full time, so technology has always been a part of my work.
For me, the best value to performance ratio is in building my own computer. First and foremost, you need to know what the software you use requires; Premiere Pro, AVID Media Composer,and DaVinci Resolve all interact with your computer differently and even prefer to use different components.
Premiere Pro is a very CPU-intense program., However, I use DaVinci Resolve, which is GPU heavy. I’m not smart enough to explain what that means about the programs coding or anything like that, but it’s important for us to know what our programs want resource-wise from our computer. My research included videos, articles and benchmarks from all over the web, but there were three primary sources of information I used: First, Puget Systems. They create high end workstations for creatives, as well as publish extensive testing of CPUs and GPUs that are program specific. John’s Films, while less scientific, is easier to understand and works with components a little closer to my (and most likely your) budget. Finally, Richard Lackey’s website does a great job of breaking down all of the different aspects of parts and how they influence DaVinci Resolve.
With these resources, I focused my research on picking out the right GPU. There are three main specs that you look at with the GPU: core clock, boost clock, and VRAM (You’ll notice length and “interface” are also listed but unless you are really going to deep dive into how the connections of the computer work, the interface isn’t really that important. In my budget the case will be a cheaper option and those generally take any size GPU). The way to prioritize these specs is this: VRAM = playback experience, while core/boost clock = render/export speeds. Now this is an oversimplification based on my experience level, but it gives us the gist and the information needed to make an informed decision. I’m most interested in not dropping frames during playback or waiting for my computer to catch up to what I’m trying to do. I have no problem pressing export before going to bed or going out and running errands because it takes a while. This is how I ultimately ended up landing on an AMD GPU despite NVIDIA being the consensus better option. To get 8GB of VRAM on Nvidia, I have to spend at least $700 (of which $300 is markup due to demand). By comparison, the AMD one I’ve found is $420, and while the core and boost clock are slower, they’re not enough to justify spending an additional $300.
I’m not saying this is the best, cheapest spend possible. It’s a good value and I can guarantee that it can do what I need it to and possibly more.
A couple things to note before getting into this list. I already own a monitor, keyboard and mouse (I recommend them for everybody, even if you have a laptop) so I don’t need to buy those. Also, I am using credit card points to get a giftcard to Best Buy. Additionally, because I am a student, I can get a copy of Windows Education for free to put on this new build. All of these are things you might need to consider when preparing to build a PC. Other than that, all components will be purchased at Micro Center, and as such, the pricing is from their website at the time of my build.
One last note before we get into the parts list, I consulted a friend (Hi Devinder!) who is an experienced computer builder (and programmer). This was the most helpful thing I did, having someone who can explain what a specific computer part does and what to look for when purchasing. I would have gotten wrong/incompatible parts had I not consulted him; I would have returned them and it would have been fine but it frustrating. It made the entire process as smooth as possible
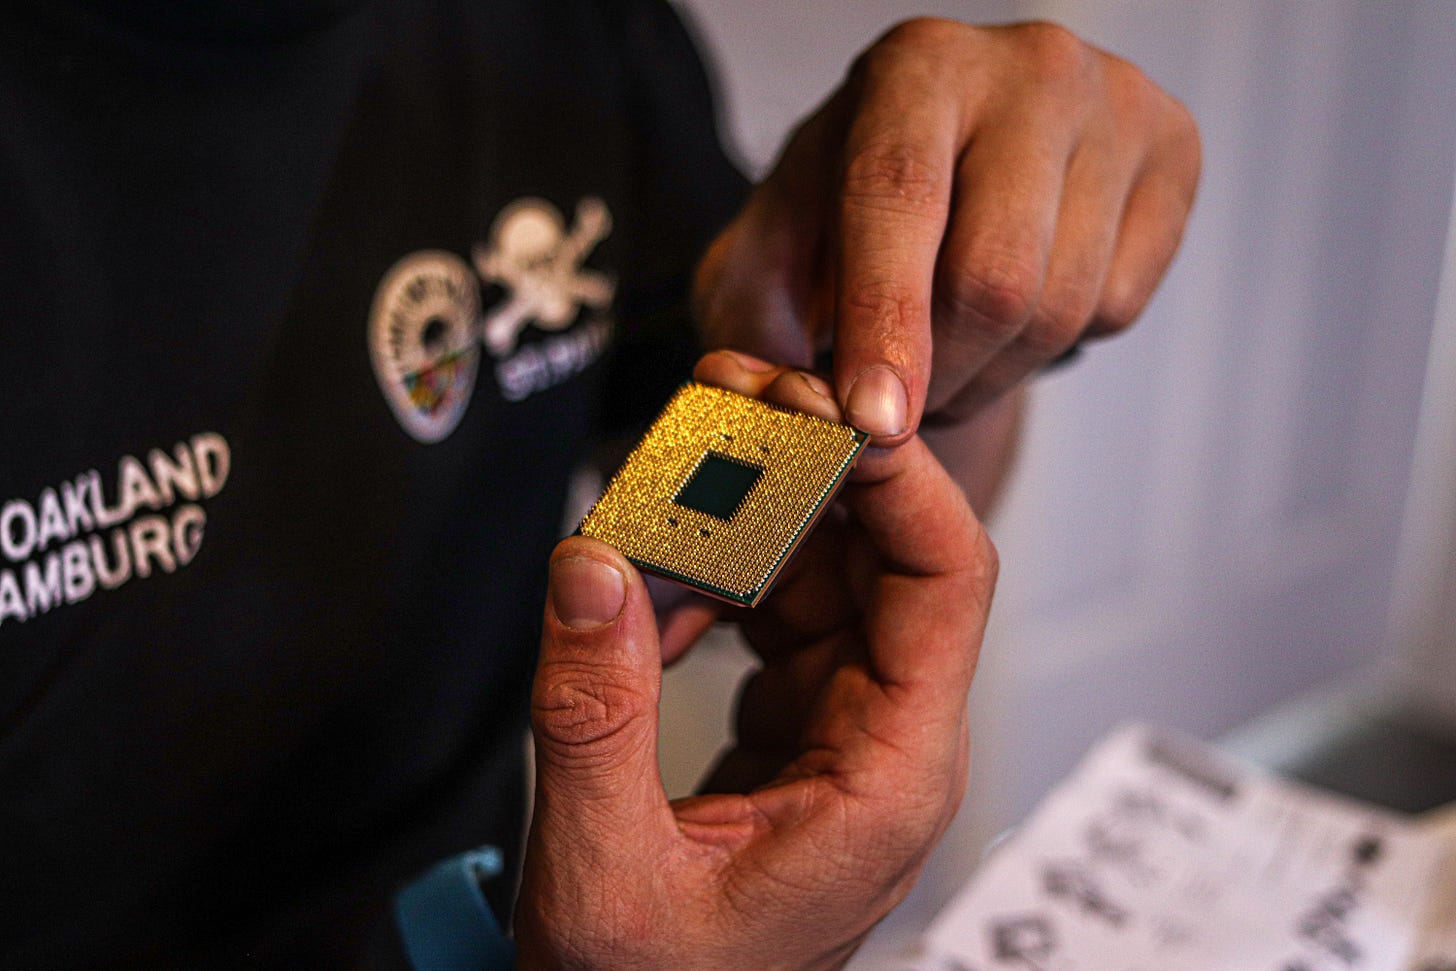
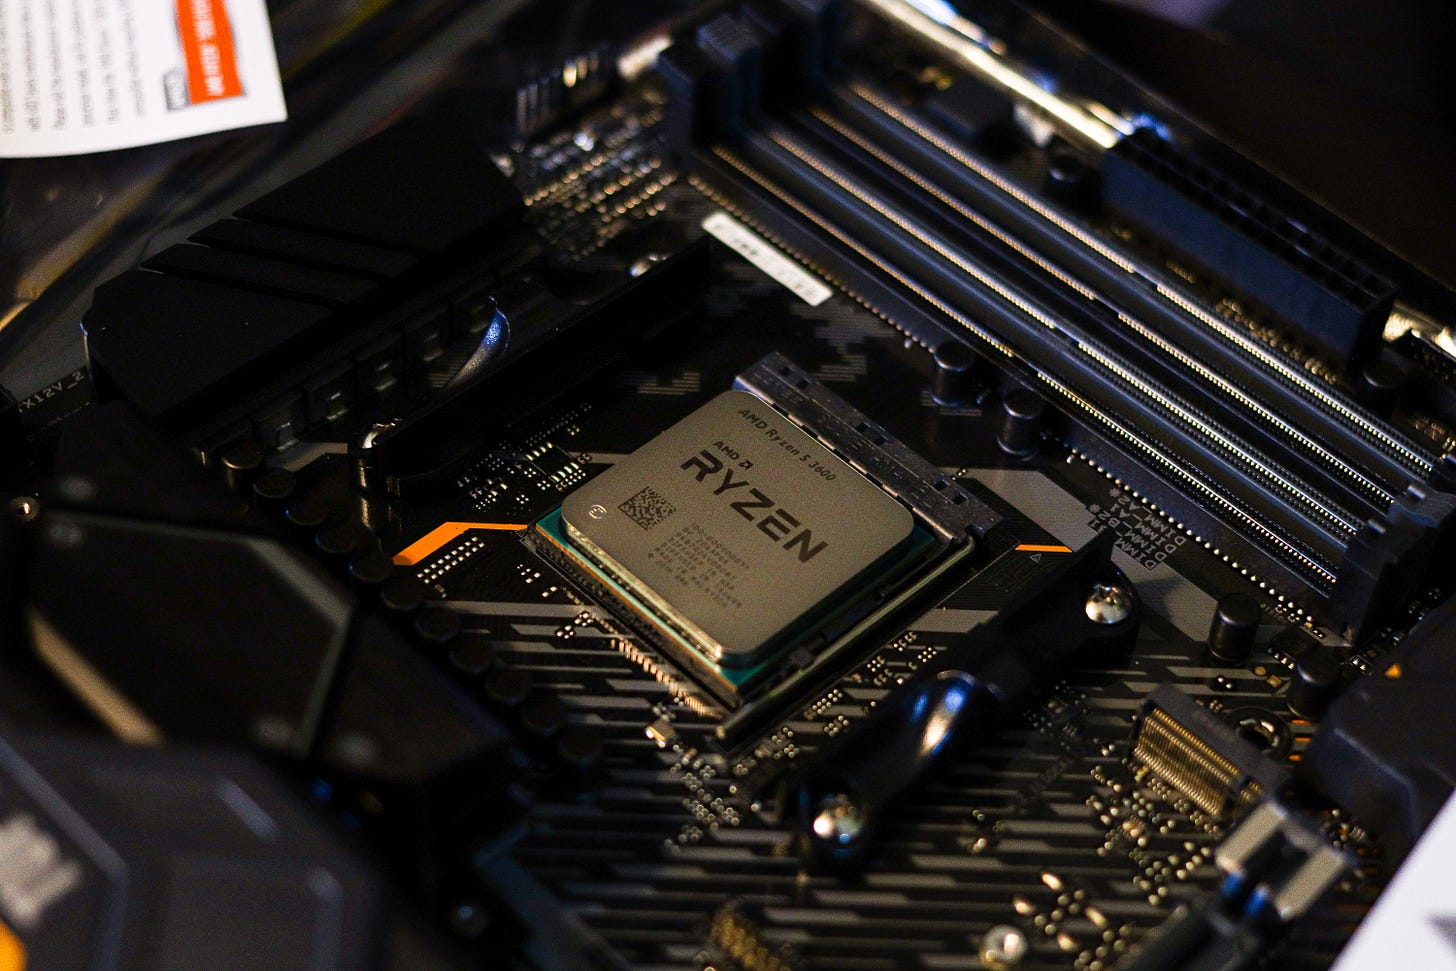
CPU: Ryzen 5 3600x (originally Ryzen 7 3700X )
On a few of these items you’ll see two listed, I ended up getting a different (and more expensive) GPU than planned so I made cuts in other places. One of those places is the CPU. I’m comfortable making this change because as mentioned before the GPU is the most important aspect of my build but also the 6 core 3600x performs really well at $200 it’s an amazing value. Is it possible I regret not going for the Ryzen 7 3700? Totally, but I think I will be okay.
$200
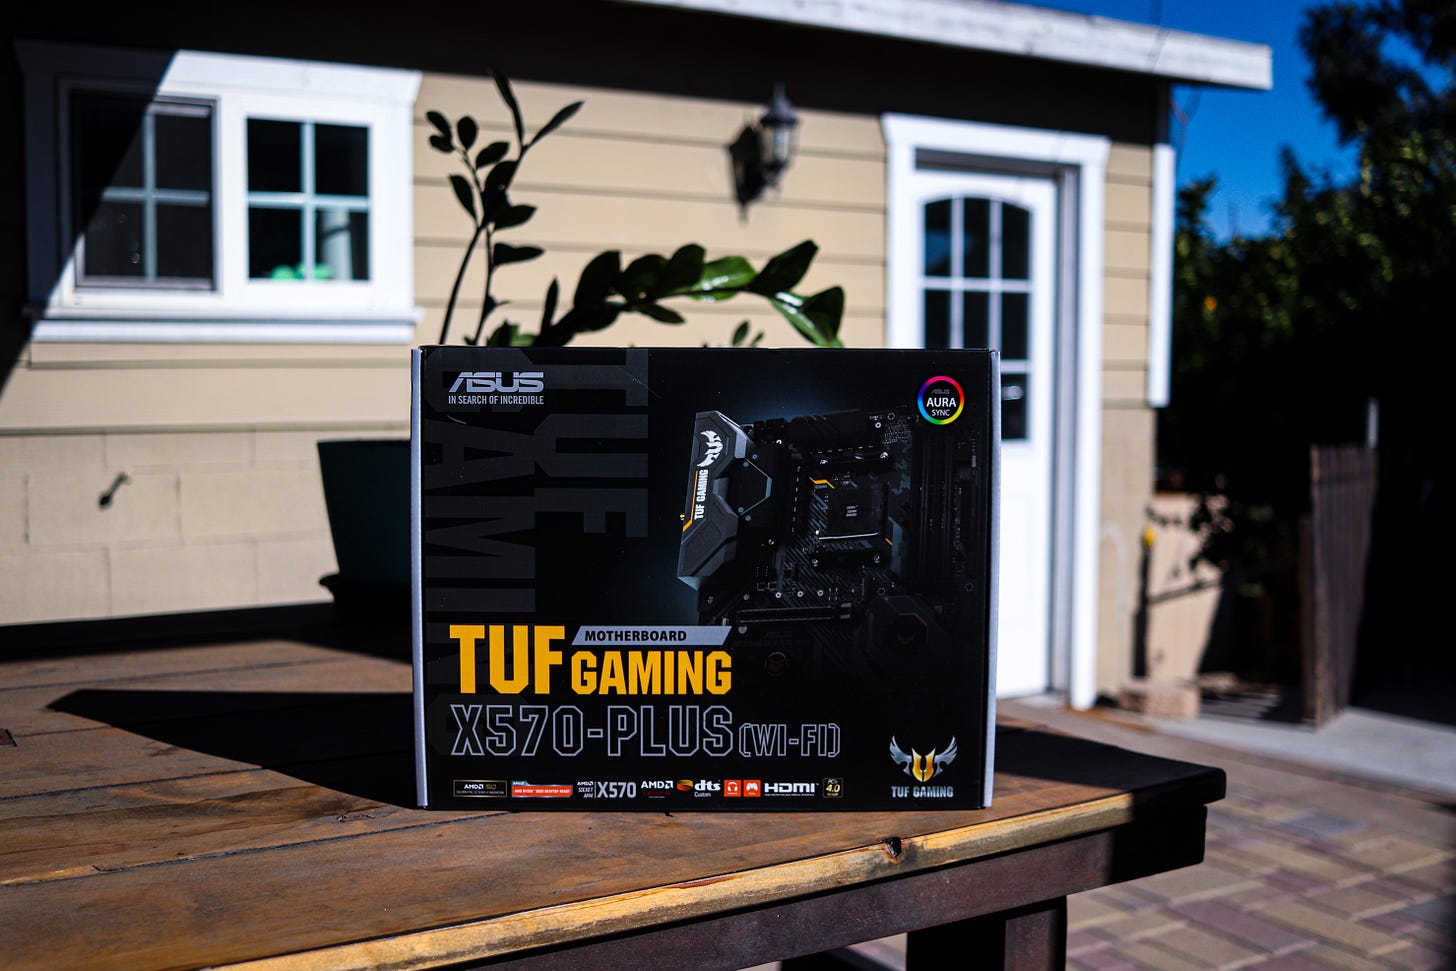
Motherboard: ASUS TUF Gaming X570 Plus (WiFi)
There is a surprisingly large number of motherboards to choose from, so I was pretty overwhelmed as a first time buyer and builder. Outside of making sure it takes the correct chip for compatibility purposes (AMD vs. Intel), I wanted to make sure it had 4 RAM slots even though I’m only buying two right now. There is also a second slot for another GPU if I wanted to add it down the line, as well asa second M.2 slot and 6 SATA ports, which will be more than enough for me. My setup can also take advantage of the optical out for audio . And while gigabit ethernet was something I intend to use, I specifically wanted a model with WiFi built-in. In terms of connectivity, this board is loaded inside and out with more than enough USB ports. There are lots of options for this component and some great budget choices. In this case, I had a $160 gift card to BestBuy so I worked off their list and went for a nicer model.
$40 (retail $200 but I have a giftcard to Bestbuy)
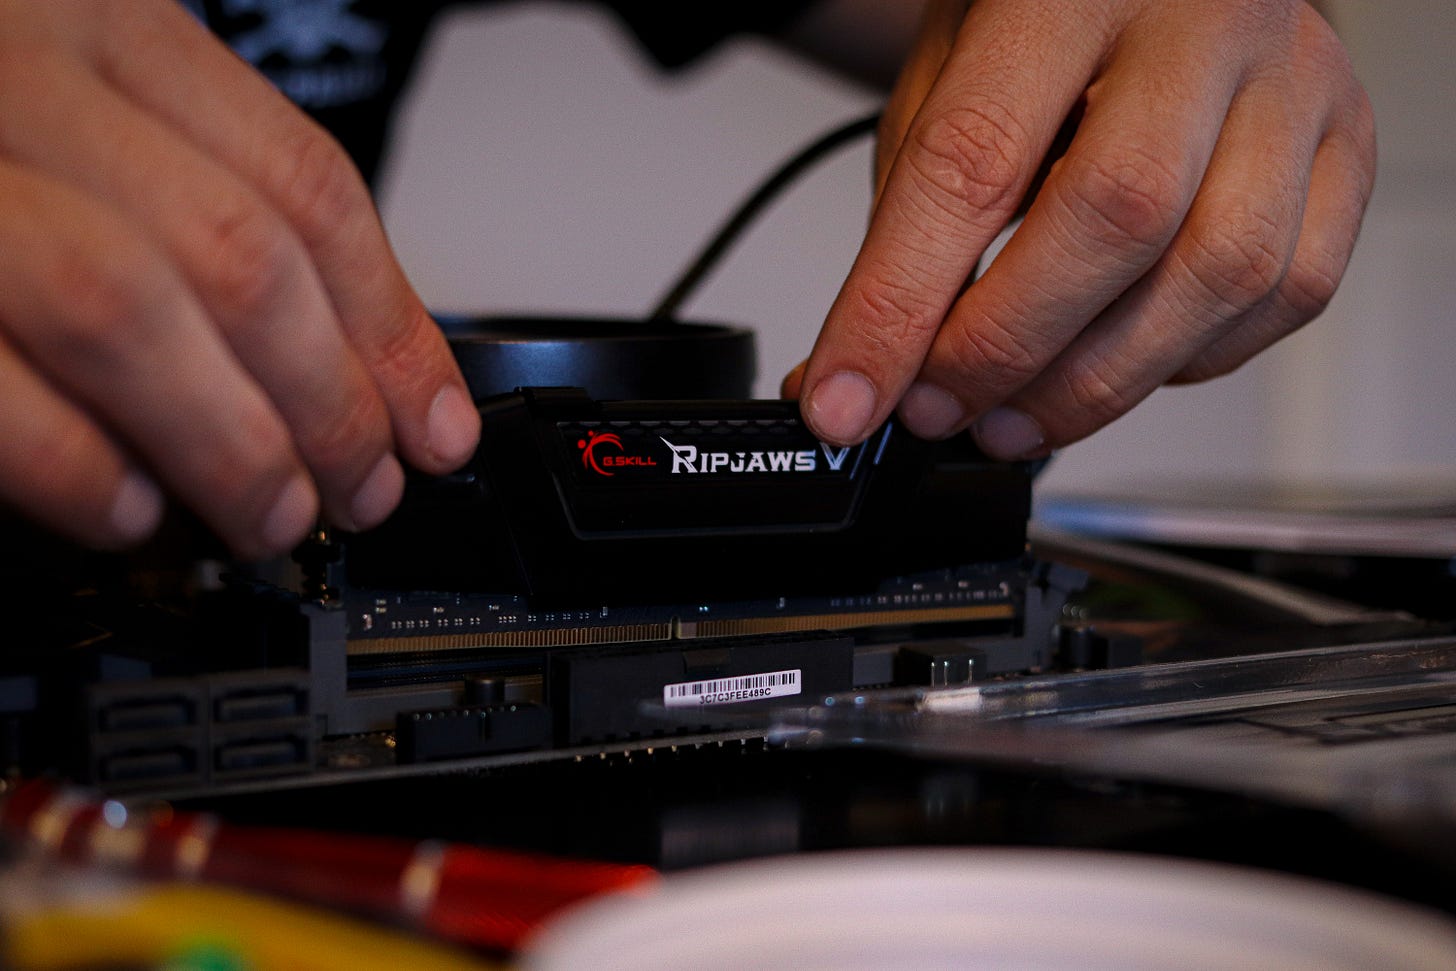
RAM:G Skill Ripjaw Dual Channel 32GB (2x16 DDR4 3600MHz) (Originally planned on 64gb 2x32)
32GB is the recommended amount for 4K editing, particularly in DaVinci Resolve, so 64 would have been pretty future proofed. I learned two important things during research. First, make sure that it says “dual channel” or “dual kit.” This means the RAM has been tested (and passed) together, not just two individual sticks put in the same package. Secondly, that MHz number, it does matter. There are three options, 2400, 3200 & 3600; the higher the number, the faster and better performing it is. Newer AMD chips can really utilize the faster speed, and it’s highly recommended to match 3200 MHz or faster with AMD 5 series and higher CPUs. 64gb would have been but I shouldn’t see any difference in performance with 32gb.
$140
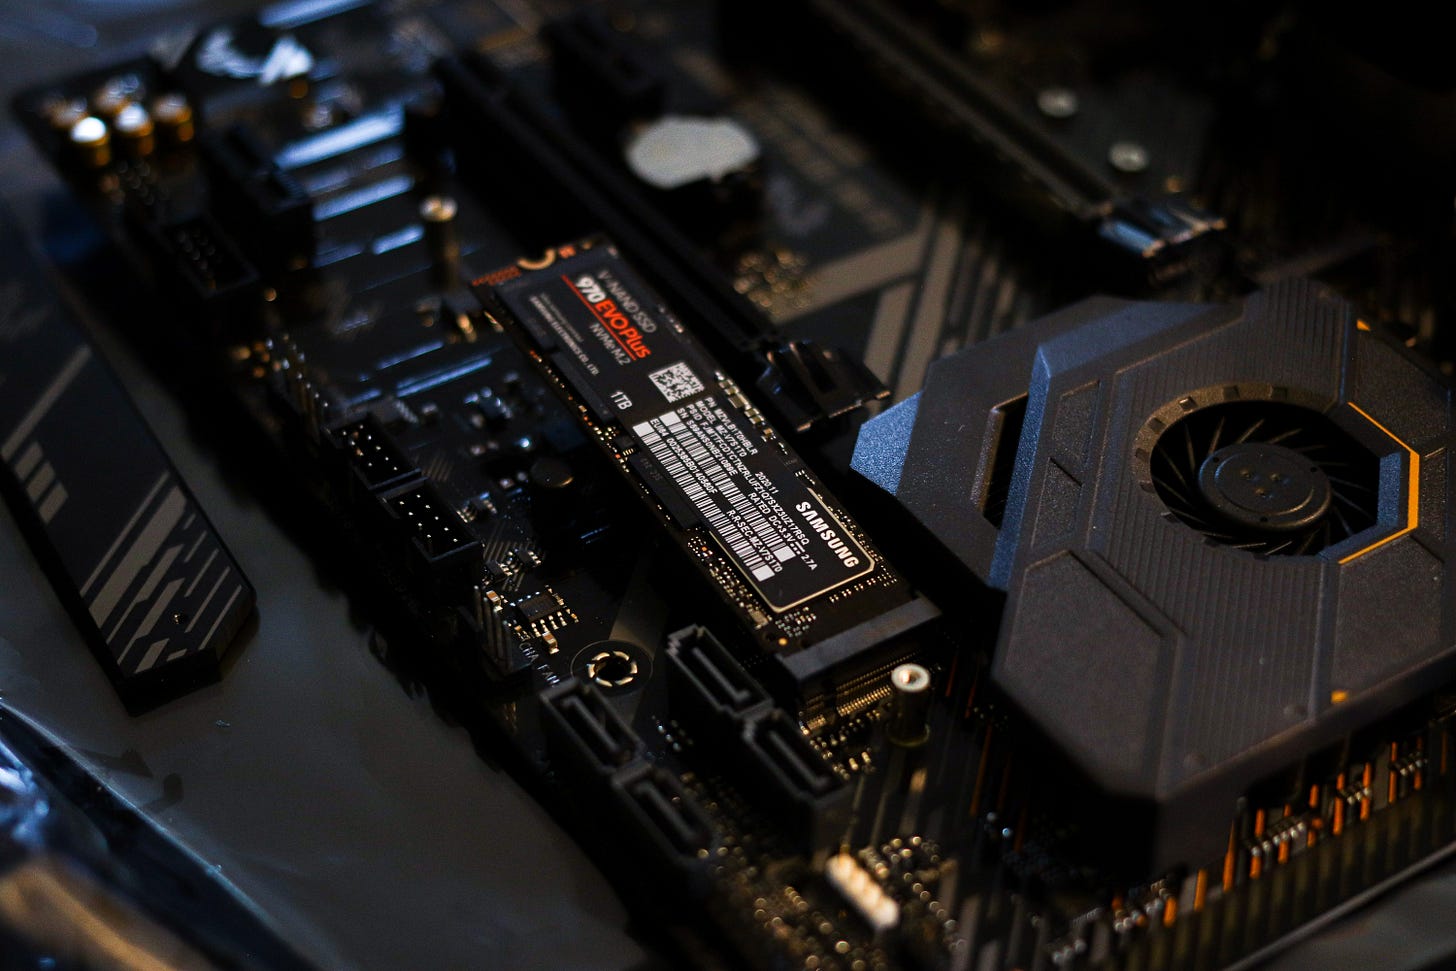
Storage: Samsung EVO+ 970 M.2 & Toshiba X300 8tb (7200rpm)
I am planning on two storage devices as part of my commitment to this being an edit bay. With the SATA drive, I can get hired right now to edit a project without needing to ask how big it is and see what my current hard drive capacity looks like. The M.2 allows me to have really fast storage for the OS, software, and if a project is small enough, I’ll throw the file on the M.2. Also, I can use the M.2 for my cache while editing meaning anything that does give my system a hard time will be stored on the faster drive. If I do get footage higher resolution than 4K, I will definitely be happy I have the M.2 as it’ll make sure any bottleneck is in the processor with it being the Ryzen 5 instead of 7 (I do not expect a bottleneck at all to be clear). Another thing to note, the day I went in the + version was only $5 and with the goal to future proof I went for it, however normally the price difference is bigger and I would not have gotten the + version.
$315
GPU: EVGA Nvidia 2080ti (Originally Power Color Radeon RX 5700xt)
As I mentioned earlier, the key detail for me and my workflow is VRAM (playback is king!). So when I got to the store and learned they had sold the card I was looking for I was bummed! I explained that I am building an editing bay and not a gaming rig and the guy came back with an open box 2080ti. This is much, much more powerful than anything I was looking at before, 11gb of vram makes it a beast. It is more expensive than what I initially listed but it is in the realm of what I knew 8gb of vram could cost. I Made the decision in the moment to cut back in other areas to make sure I can get this and stay within my budget. It being open box is a risk and that is why I got an additional warranty, what it means is that if the GPU stops working in 2 years I get a giftcard to microcenter for $720 which should be plenty to get another GPU that works.
$800 (including additional 2 year warranty)
Power Supply: EVGA Supernova 650 GT (Originally SeaSonic Focus GX 650)
This is heavily based on personal experience. After finishing my undergrad, I worked in the event space, first for a photo/video installation company and then for a corporate events department. Maybe I’m paranoid, but I’ve seen enough power issues to never go cheap here. I’m not getting the most expensive thing but I’m not going to go cheap. This model gets solid reviews and is middle of the line price wise. Seasonic’s got good reviews and were quiet however when I went in they were out of fully modular seasonic units so I got EVGA on the sale rep’s recommendation. I’m happy with it and based on reviews online it seems like a good choice.
$108
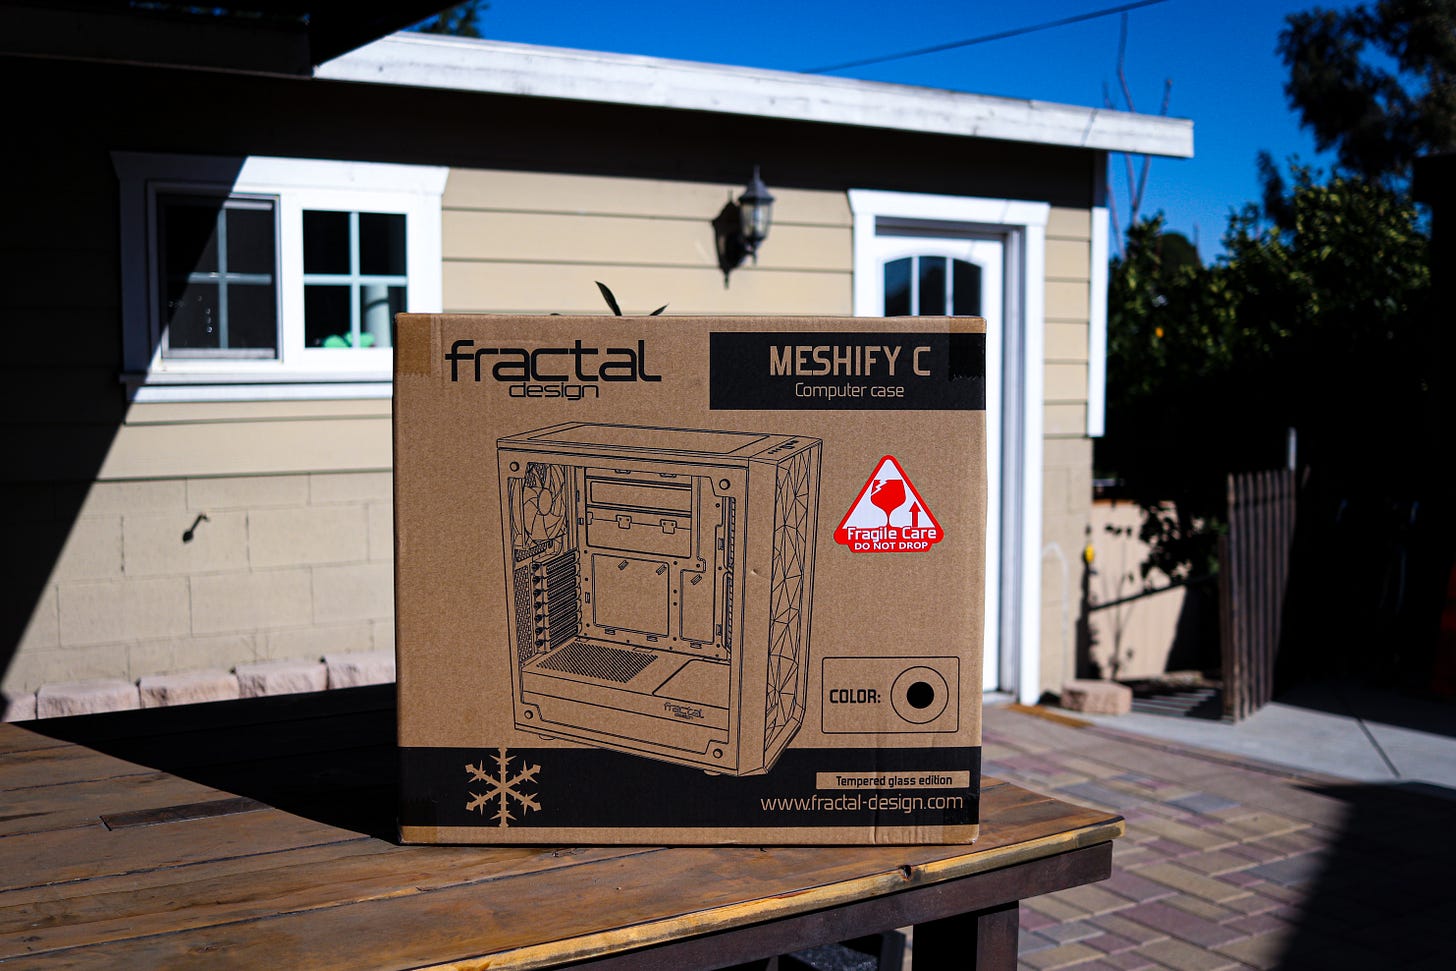
Case: Fractal Design Meshify C (Originally NZXT H510)
I am not getting any RGB for the case and it’s not something I plan on getting, initially I went for for the NZXT H510 but with the beefier GPU my sales rep recommended the Meshify C for it’s airflow. I have no reason to think he would lie about that, it’s within budget and it looks good. Initially I wasn’t into having a tempered glass side but I must say, I’m happy I went for it and you’ll see in the build video and blog post.
$109
Add in an antistatic wrist strap, screw driver set, and other necessary tools, this gives me a grand total of $1885 after tax. Overall, I think this build a good mix of power and smart spending that should give me what I want while still allowing for improvement as my workflow requires.
So what do you think? Am I completely missing the point? Overspending on a part? Want to teach me something? Comment below! The goal of this article is to serve as a resource for future filmmakers thinking of or curious about the process of building their own editing PC. See you on the other side!

